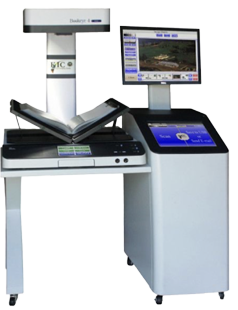
1a. Bookeye Scanner
Use the Bookeye scanner for Community Archives textual documents, including books, newspapers, scrapbooks, bound items, and fragile documents that should not be pressed flat on a flatbed scanner.
Capture Specs
Resolution: 400 ppi
Format: PNG (lossless)
Color: sRGB, 48-bit
Follow these steps on the Bookeye scanner to produce preservation-quality images (PNG) and PDFs.
Steps
- Insert USB drive.
- Select Material. Default is Document (Face Up). If the scanner is not detecting the item correctly, try another material type such as Newspaper, Art, or One Photo.
-
Set resolution to 400 DPI (Preservation Quality).
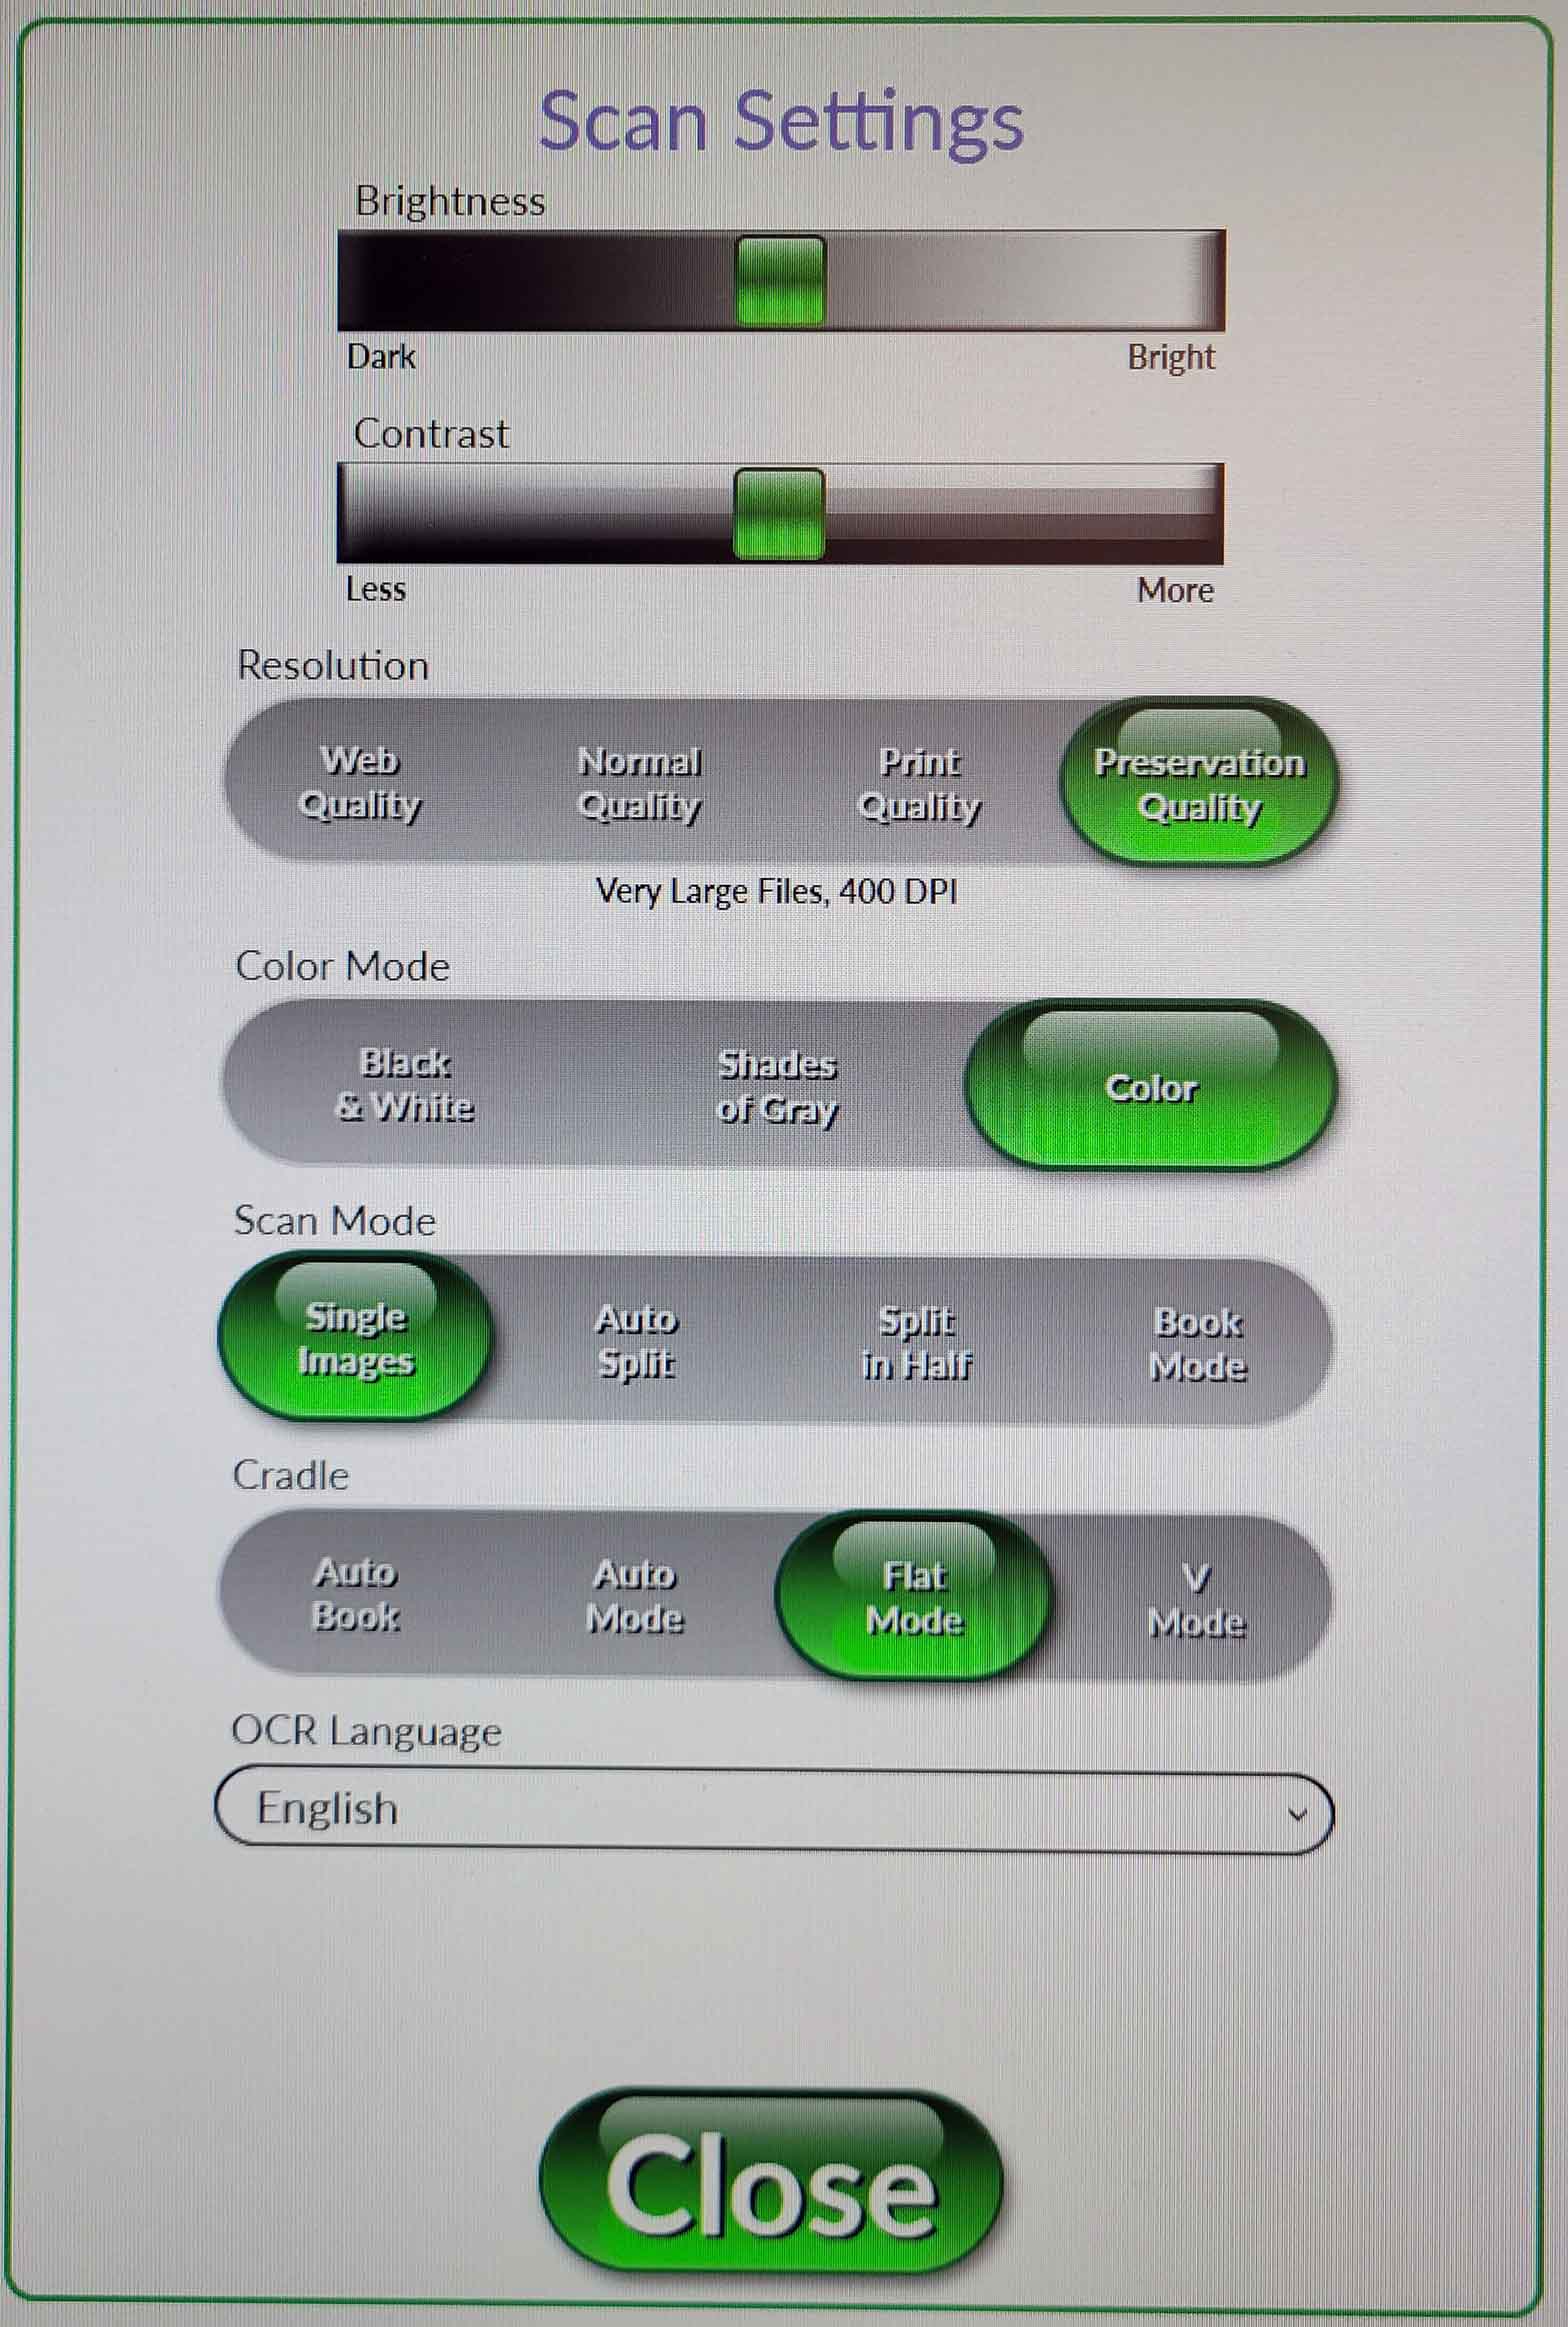
Set the Bookeye scanner to 400 DPI before scanning each item. - Scan the whole document, book, or item.
Scan quality comes first
Prioritize quality over speed. Each scan should be clear and legible, straight, fully captured with no cropped-off edges, and evenly lit. If a scan is blurry, distorted, too dark, skewed, or missing part of the item, delete it and scan again before moving on.
Use the angled cradle for books and other bound volumes. Lay large-format items flat on the scanner bed.
If the scanner is not capturing the item correctly, try one of these adjustments:
- change the material type to Newspaper, Art, One Photo, or another option that better matches the item
- move the item to a different position on the scanner bed; even a small adjustment, such as moving it about an inch up or down, can help the scanner detect it correctly
- if it still will not scan correctly, rotate the item and scan again; straighten the image later during processing
- place a folder or blank sheet under the item to create stronger edge contrast if the scanner is having trouble detecting the object boundaries
- Export PNG to USB after the full item is scanned. Under Send Your Scans, choose Export Option: USB and File Format: PNG. PNG is our preferred master capture format. See rationale below.
- End Session and select Yes when prompted to delete all scan images from the Bookeye scanner.
Why end the session?
Ending the session and starting a new one creates a new scan folder on the USB drive. Use this to sort multiple items into separate folders on the USB.
If scanning multiple items, start the process over from step 1 for each item. Otherwise, close out the session and move to File Organization on the Digital Processing Workstation computer.
Reset DPI
Ending the session resets settings. For the next batch, set DPI back to 400.
Why PNG
- Scanner limitation: The Bookeye does not support scanning to TIFF; PNG is the highest-quality lossless option available at capture.
- Lossless compression: No irreversible artifacts; safe for repeated edits and derivatives.
- Stable for capture masters: Good for text, line art, and photographs; preserves edges and fine detail.
- Predictable re-saving: Re-exports do not accumulate quality loss like JPEG.
- Interoperable: Broad tool support for validation, checksums, and scripted processing.
Long-term master format
TIFF is traditionally the archival master format for many scan workflows. Since Bookeye cannot output TIFF at capture, capture as PNG and retain the PNG files for preservation processing.
Next Step
After scanning, continue to File Organization.